General settings
Name your recruiting, choose the study you want to recruit for and record any useful detail in the notes.
Learn how to set up and use UXtweak
Explore possibilities with demo studies and results

Export and analyze insights faster. Sync your favorite tools with UXtweak
Resources for mastering research, design and product
Definitions of UX terms and phrases
UX insights and tips to sharpen your skills

Studies published in peer‑reviewed journals and industry publications.
Watch our quick, educational UX videos
Listen to top researchers share their stories, wins, lessons
In this section you will learn how to set up the general properties of your recruitment from your Own database:
Participants won’t see the panel name displayed anywhere. Use a name that will help you identify the panel on the dashboard among other recruitings. Creating your own naming conventions can help you keep recruitments well organized.
This is where you select the study that you wish to recruit participants for from your Own Database. You can choose from the existing studies available in your team. More than one recruiting can be connected to one study. Make sure that the study you want to recruit for is launched, so that participants are able to access it. The recruiting with Own Database is available for any study type.
The notes provide you with an opportunity to store additional information about the recruiting.
Example uses for notes:
Your notes can be edited after you have started the recruiting process. The notes are not shown to the participants at any point.
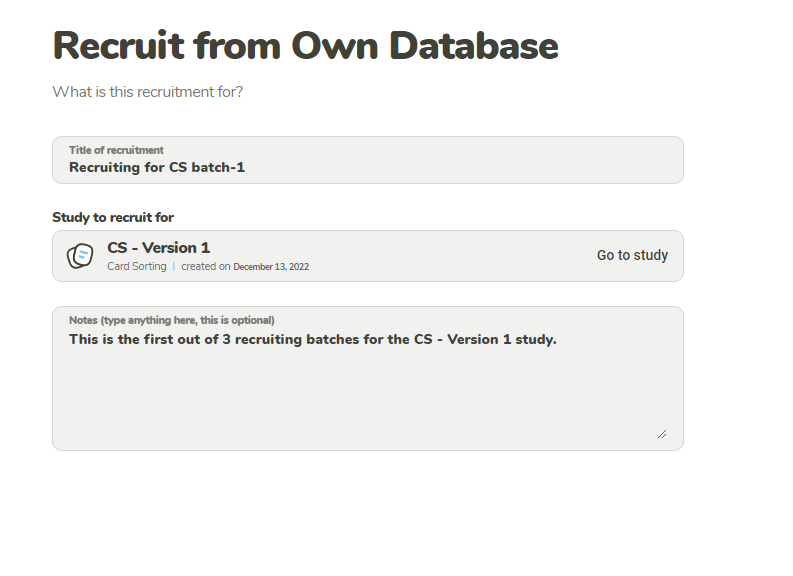
Name your recruiting, choose the study you want to recruit for and record any useful detail in the notes.